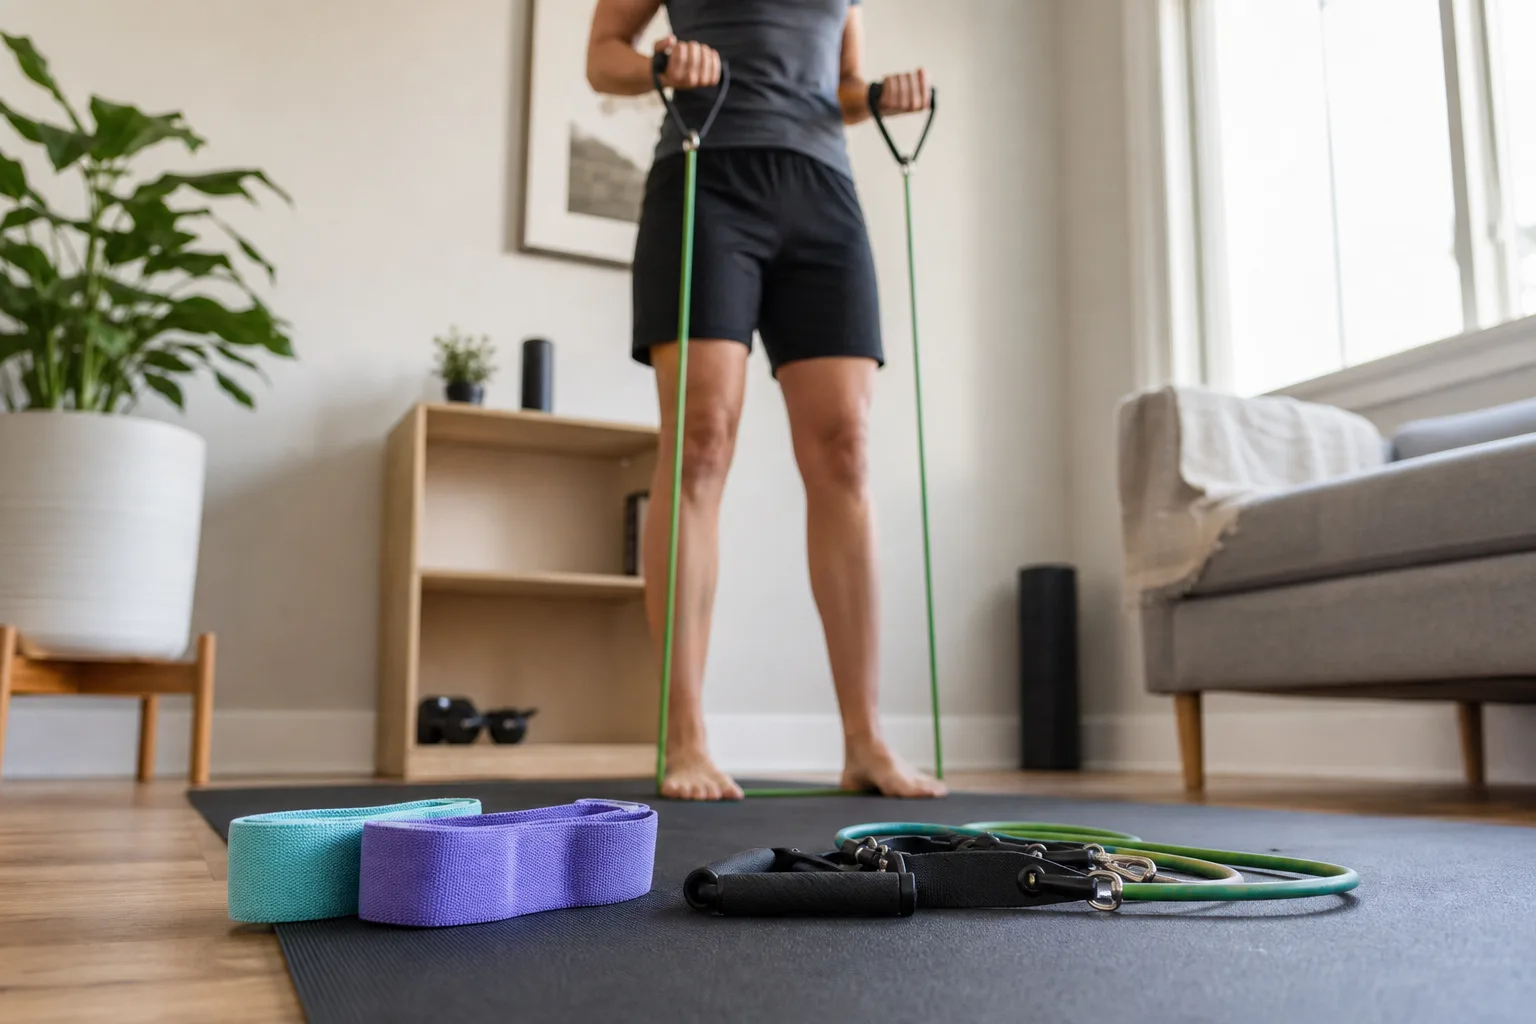
Guide · Equipment · Training
Resistance Bands for Beginners: Joint-Friendly Progression
Performance education — not medical advice. Joint discomfort that is sharp, swollen, or post-injury needs a clinician — not a harder band.
Direct answer
For a joint-sensitive beginner, choose a light-to-moderate band that allows smooth, controlled repetitions without painful contact points. Compare material, length, handle comfort and safe setup; colour is not a universal resistance standard. Bands are training tools, not treatment for joint disease.
- Start
- Light resistance with slow repetitions.
- Inspect
- Cracks, fraying, handles and anchor security.
- Do not assume
- Colours mean the same resistance across brands.
Direct answer
Resistance bands for beginners joint friendly is a training-entry query. Start with a set that includes at least three tensions, learn the big patterns (squat pattern, hinge, row, press, carry/walk), and keep most sets in a controlled RPE 6–8 zone. Joint-friendly means you respect pain signals and progress tension slowly — it is not a diagnosis of joint disease and not a prescription.
Why bands suit joint-aware beginners
Elastic resistance increases through the range, which many beginners find more forgiving than jumping into heavy free weights with shaky technique. You can shorten range, change anchor height, or drop to a lighter band without needing a full plate tree. Pair bands with the habit skills in PPL vs full body for beginners and how much load to add.
| Beginner need | Band advantage | Watch-out |
|---|---|---|
| Small space | Store in a drawer | Need a safe anchor |
| Noise concerns | Quieter than metal plates | Snapping risk if worn — see anti-snap guide |
| Learning patterns | Easy to deload mid-set | Harder to quantify exact kg |
| Travel | Packable | Hotel door anchors vary |
Band types compared
| Type | Best beginner uses | Joint-aware tip |
|---|---|---|
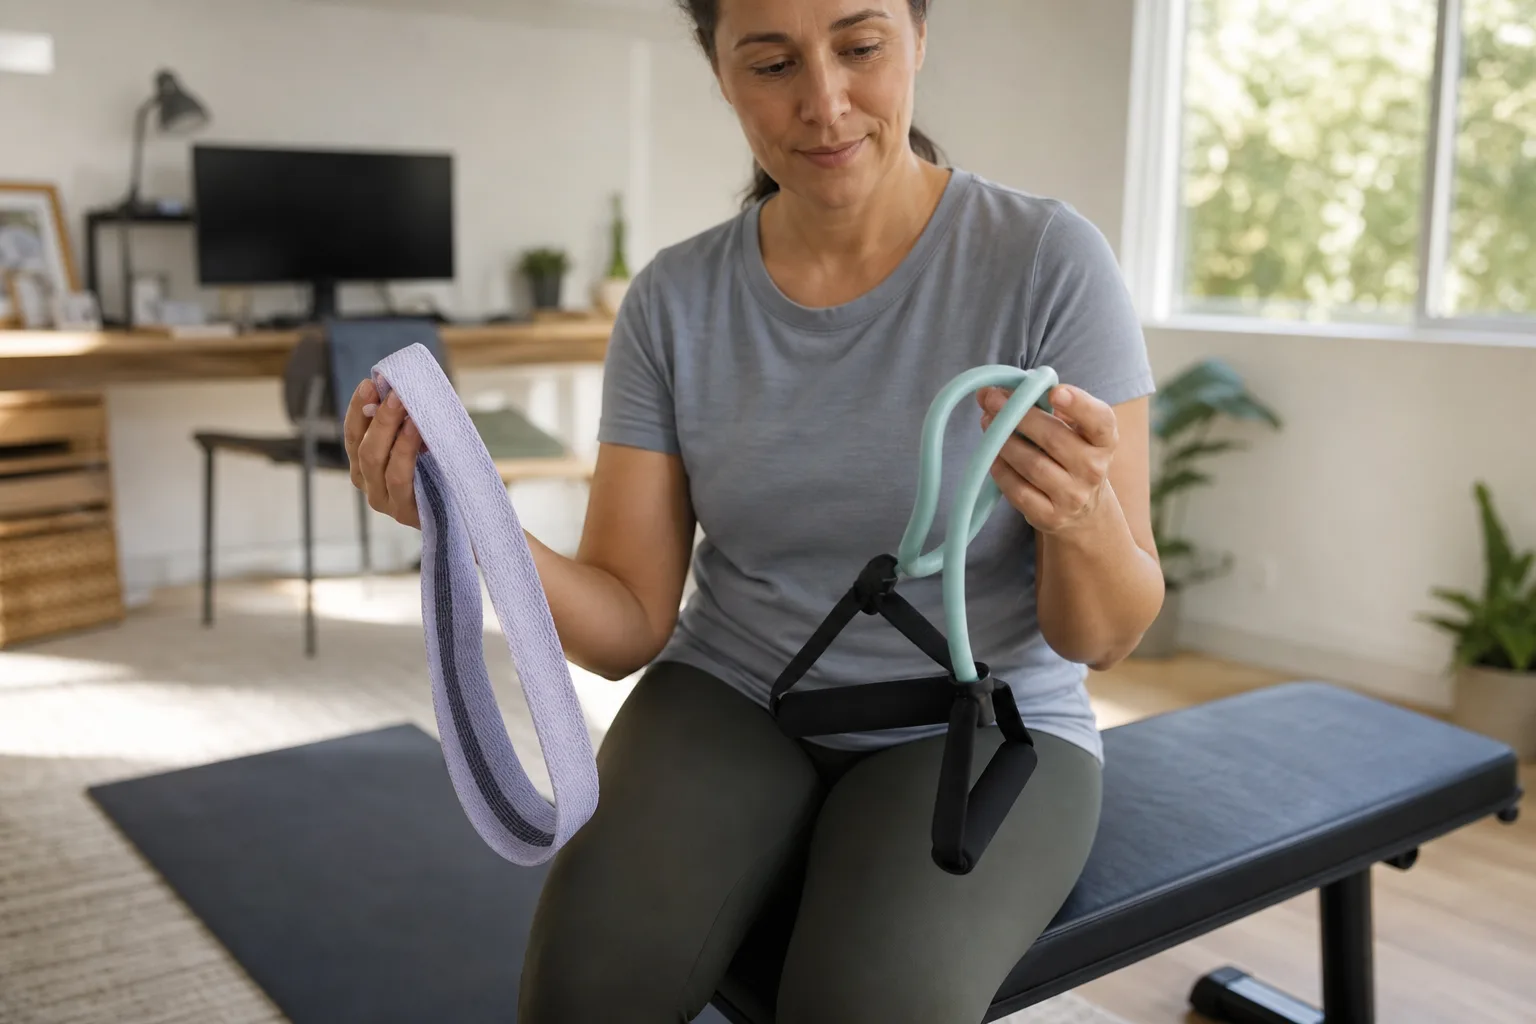
| Tube + handles | Rows, presses, face pulls | Keep wrists neutral; do not overstretch tubes |
| Flat loop (latex) | Warm-ups, pull-aparts | Start light around knees/hips |
| Fabric hip loop | Glute bridges, lateral walks | Less roll-up for many users |
| Power/long loop | Assisted pull-ups, deadlift grooves | Control recoil; inspect for wear |
Allergy note: if you need latex-free materials, filter explicitly — do not assume “bands” are latex-free.
Tension progression ladder
- Own 3+ tensions (light / medium / heavy educational labels).
- Master tempo: 2–3 seconds out, controlled return — no snap-back.
- Add reps before jumping bands when form is clean.
- Move up a band when top sets exceed ~15–20 clean reps at target RPE.
- Log “band colour + reps + RPE” even if kg is unknown.
Sample joint-aware beginner session (full body)
| Movement | Sets × reps | Notes |
|---|---|---|
| Band squat or sit-to-stand | 3 × 8–12 | Pain-free depth only |
| Band row | 3 × 8–12 | Ribcage down, no shrugging |
| Band chest press or push-up | 3 × 6–12 | Slow eccentric |
| Hip hinge / RDL pattern | 3 × 8–12 | Soft knees, long spine |
| Lateral walk or glute bridge | 2 × 10–15 | Light loop |
Rest 60–120 seconds between hard sets. Stop a set if you feel sharp joint pain — that is a clinician conversation, not a “push through” cue.
Buy filters for beginners
- Multi-tension set over a single ultra-heavy band.
- Handles + door anchor if you train in a room with a solid door.
- Clear resistance labels and a carry pouch.
- Inspectable materials; prefer anti-snap or layered designs if you train hard — see anti-snap bands.
- Skip miracle “rehab in a bag” medical claims on product pages.
Want a starter kit that also includes dumbbells later? See home gym starter kit. For apartment constraints, pair with adjustable dumbbells for apartments.
Common mistakes
- Buying only the heaviest band and grinding ugly reps.
- Anchoring to unstable furniture.
- Letting bands snap back (shoulder risk + equipment wear).
- Skipping progressive overload because “bands are just warm-ups.”
- Using bands to self-treat diagnosed joint injuries without professional guidance.
FAQ
Are resistance bands good for beginners?
Yes for many healthy adults. They provide scalable tension with a smaller learning curve than free weights — if you progress patiently.
What does joint-friendly mean here?
Controlled range, gradual tension, and pain-free setups — not a claim that bands treat arthritis or injuries.
Tube bands or loop bands first?
Tube sets with handles suit rows/presses; fabric or latex loops suit hips/glutes and warm-ups. Many beginners own both light options.
How often should beginners use bands?
Often 2–4 full-body sessions per week with rest days. See progressive overload education rather than daily max tension.
Can bands build muscle?
They can support hypertrophy when tension, proximity to effort, and weekly sets are progressive — especially for new lifters.
When should I switch to dumbbells?
When you outgrow the heaviest band for major patterns, or want easier load tracking — many people keep both.
Safety boundary
- This guide assumes you are a generally healthy adult cleared for resistance training.
- Persistent joint pain, numbness, swelling, chest pain, fainting, or post-injury issues: see a qualified clinician — Muslex does not diagnose or treat.
- Supplement and product sections describe commonly discussed items for performance education only. Muslex does not discuss peptides, SARMs, steroids, or prescription pharmacology outside our scope.
- Pregnancy, kidney disease, or other medical conditions: get individualized clinician advice before changing supplements or training — this page is not medical clearance.
References
- ACSM — Progression models in resistance training.
- Editorial note: Elastic resistance can support progressive training for healthy beginners; individual joint issues need clinicians.
Pillar: Exercises pillar · Inquiry